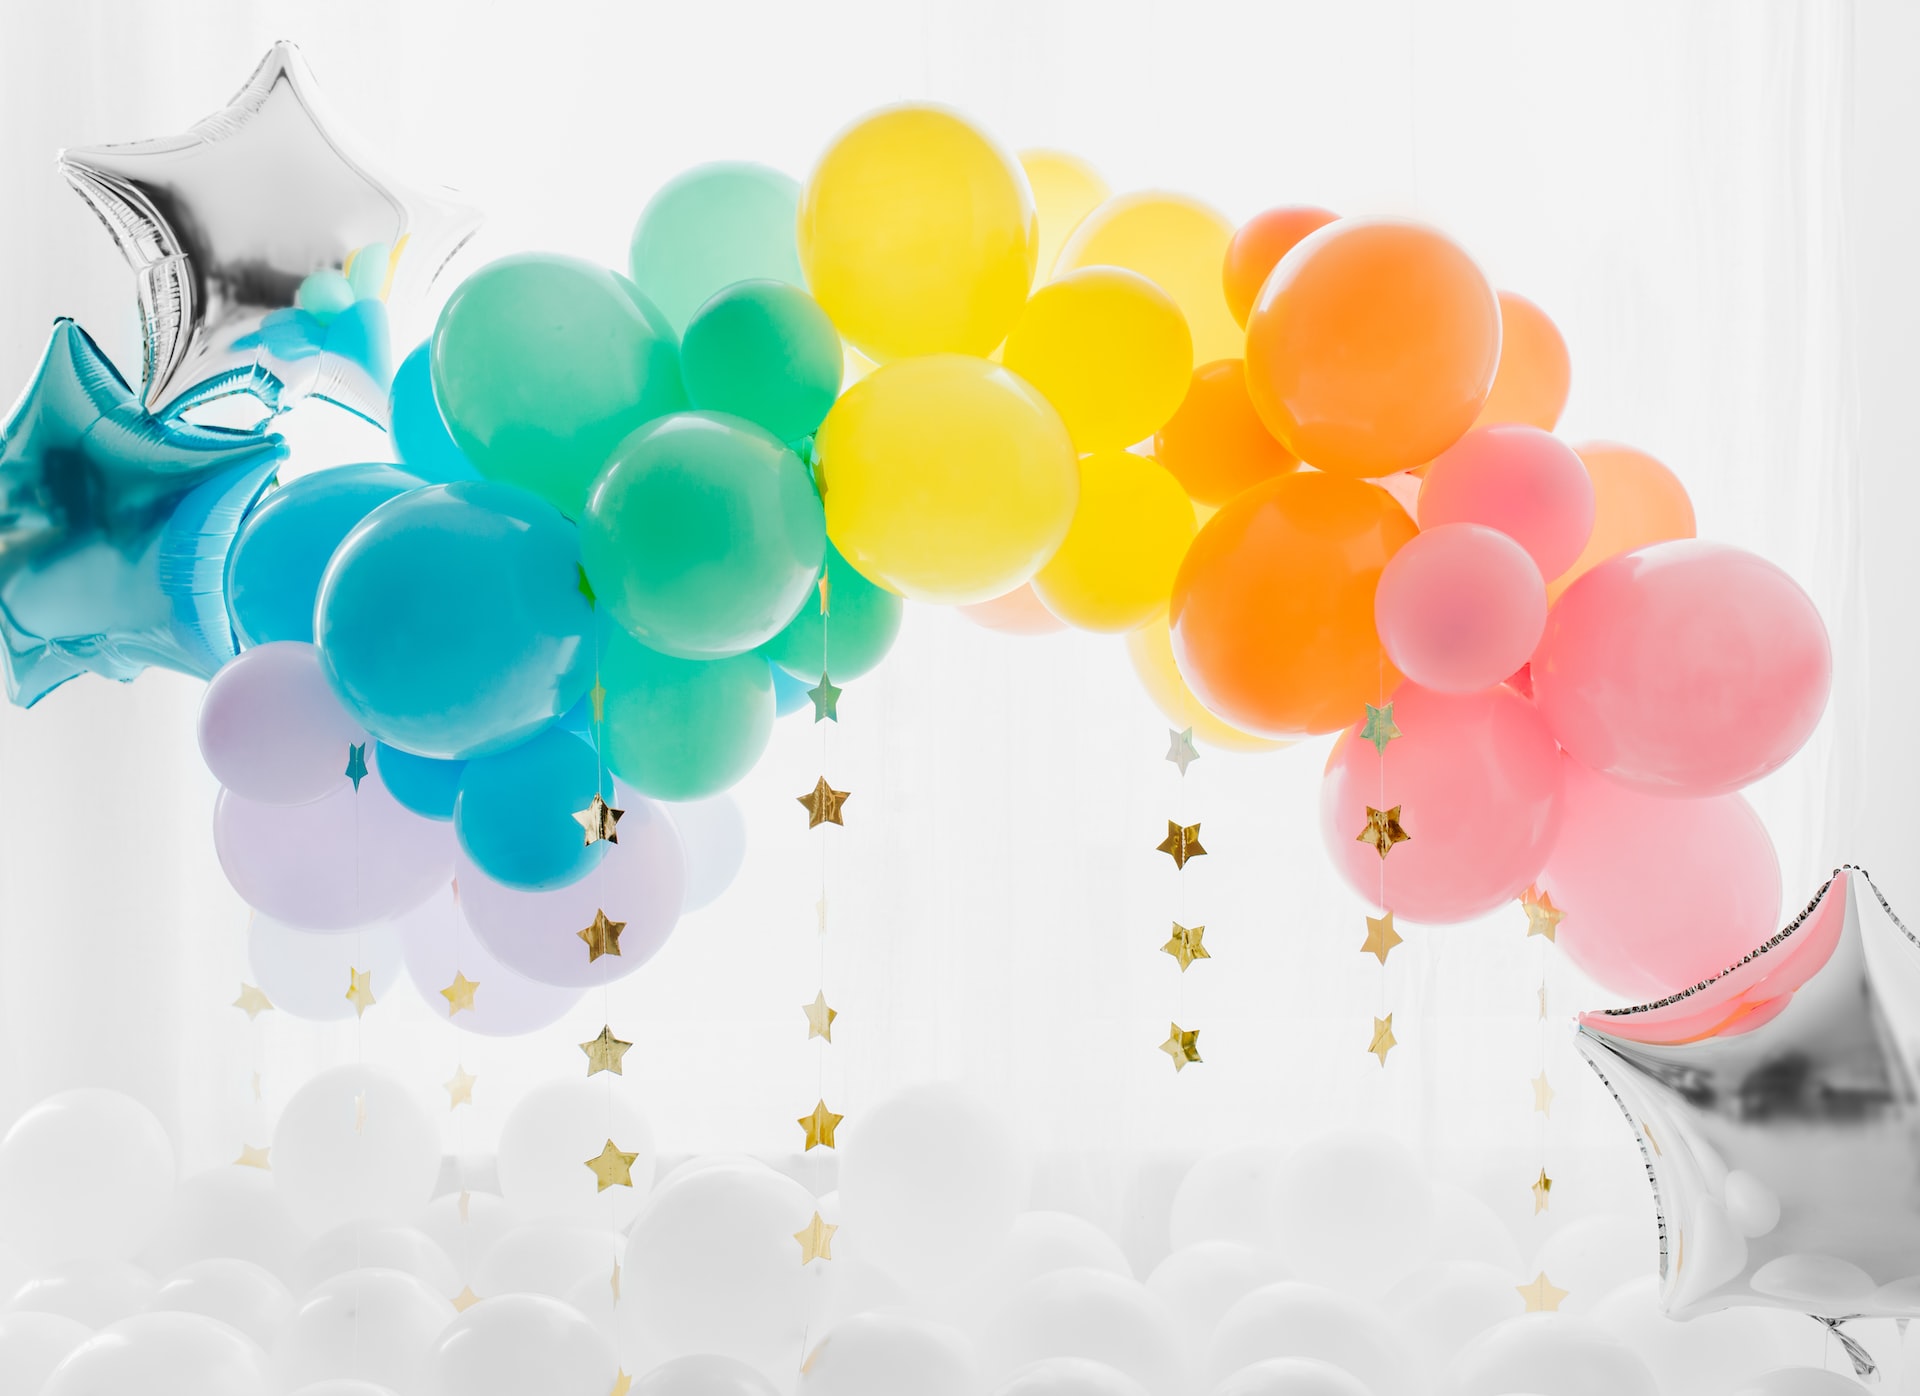
With this simple kit, you can quickly and easily create a stunning balloon garland that will wow your guests. From choosing the right colors and patterns to assembling the garland, you’ll have everything you need to create a beautiful decoration that will transform your space into a party atmosphere. So let’s get started!
When decorating your house for a birthday party, it’s important to make sure you have all the right materials on hand. Here are some essential supplies you will need to create a beautiful balloon garland:
• Assorted balloons in coordinating colors: You’ll need at least 100 latex balloons in various sizes and colors. Consider creating an ombre effect by going from light to dark or choosing different shades of a single hue. You’ll also want to grab some metallic and clear balloons for a special touch.
• Balloon pump: To save time and energy, you can use an electric or manual balloon pump to blow up the balloons quickly.
• String: Regular cotton string, jute twine, or clear fishing line will work for your garland. Make sure you choose a material that won’t show through your balloon design.
• Scissors: Use a pair of sharp scissors to cut the strings when necessary.
• Tape: Double-sided tape or poster putty will help secure your garland.
• Ruler or measuring tape: This will help you measure out the exact size of your garland.
Creating a balloon garland is easier than you think, especially when you have a custom DIY Balloon Garland Kit. Here are the steps to make your own custom balloon garland for a birthday party:
1. Gather all of your supplies. This includes your balloon garland kit, scissors, and a long piece of twine or ribbon.
2. Blow up the balloons with air or helium, depending on the type of balloons in your kit. If you’re using air, it’s best to do this step a few hours before assembly as it will take some time.
3. Cut the twine or ribbon to the desired length for your garland and tie one end to a secure location. This could be a wall hook, door handle, or curtain rod.
4. Attach the balloons to the twine or ribbon using the clips provided in your kit. It’s best to attach the balloons at the center of each one so the garland hangs evenly.
5. As you continue to attach the balloons to the twine or ribbon, leave about 4-6 inches in between each one for a more even look. Make sure to alternate colors as you go.
6. Once you reach the desired length, tie off the other end of the twine or ribbon to a secure location.
7. Hang your custom DIY Balloon Garland Kit and enjoy!
Main photo: Daniel Huniewicz/unsplash.com
Sponsored text