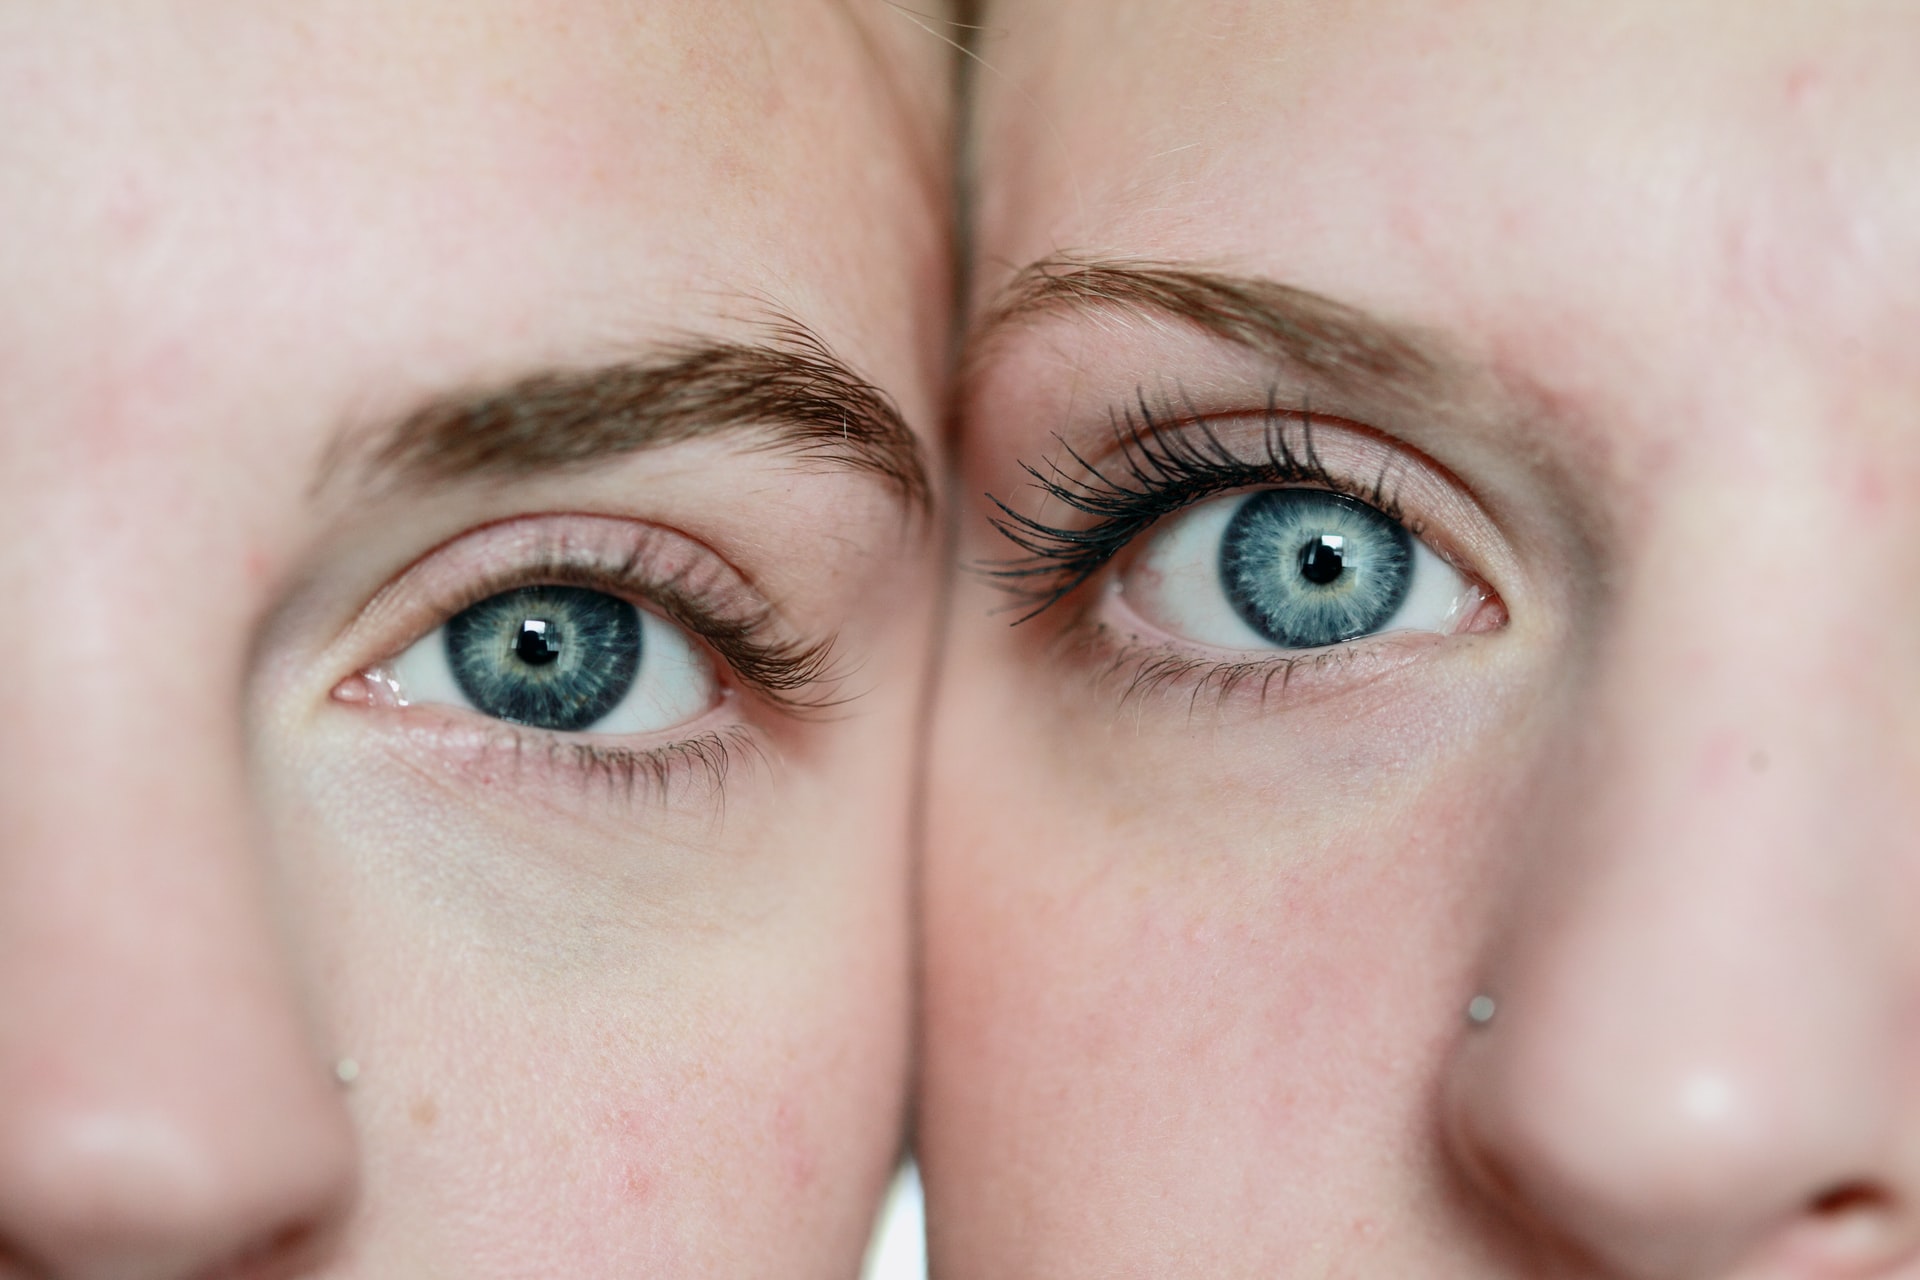
One of the easiest ways to change your look is to style your eyebrows and lashes. A recent hit in their styling and care is lamination, also known as an eyelash lift. It is a quick, painless and inexpensive procedure that will make your eyes look bigger and brighter. Imagine the effect of a single use of mascara and an eyelash curler lasting several weeks. It is during this time that your lashes will remain long, curled and defined.
There are several kits of this type available on the market, but most of them contain the same thing: containers with glue, eyelash cleanser, hair softening lotion, fixative and oil to nourish the lashes. Also included are silicone rollers, which serve as a pad to glue and shape the curl of your lashes on. If you don’t find a comb or brush (similar to the one you use to apply mascara) in the box, they can be easily purchased at a cosmetics store. It is also worth to get paper eye patches, which protect the lower lashes. Their function can also be fulfilled by a delicate paper tape. It is best to use cotton buds to apply specialized liquids on your eyelashes. In order to protect the whole process of softening/laminating, it is best to prepare yourself some pieces of cling film to cover your lashes for the time the preparations work.
Start the whole process by deciding how curly you want your lashes to be. This determines the choice of silicone pad, to which you will stick your lashes for the duration of the fixation. You can choose from size L (the smallest curl), through M, M1 and M2 to S, which will curl your lashes the most. Then thoroughly clean and dry your lashes and entire eyelid. Secure the lower lashes with a paper pad or tape. On the thus prepared eyelid skin you can apply glue, on which you will fix the silicone roller. The glue from the kit can replace the one you usually use to glue on false eyelashes. Cover the silicon cap with glue as well. With the special plastic comb included in the kit or a cotton bud start sticking the lashes to the pad. Cover the glued eyelashes with softener, from their base to about halfway. Put a piece of plastic wrap over them and wait 8 to 12 minutes (depending on what condition your lashes are in).
Once the time is up, remove the foil. Wipe your lashes with a clean cotton ball to remove the softener. Right after that apply a fixer – it will fix your lashes. Cover your eye with the foil and wait another 8-10 minutes. Remove the foil, clean the lashes, comb them and apply a conditioning oil. All the described steps should be repeated while laminating eyelashes of the other eye.
The effect of lamination lasts from 3 to 5 weeks. After this time you can repeat the treatment.
Read also: How to make your own makeup remover milk and why it is a better option than using liquid?
Main Photo: Sharon McCutcheon/ unsplash.com