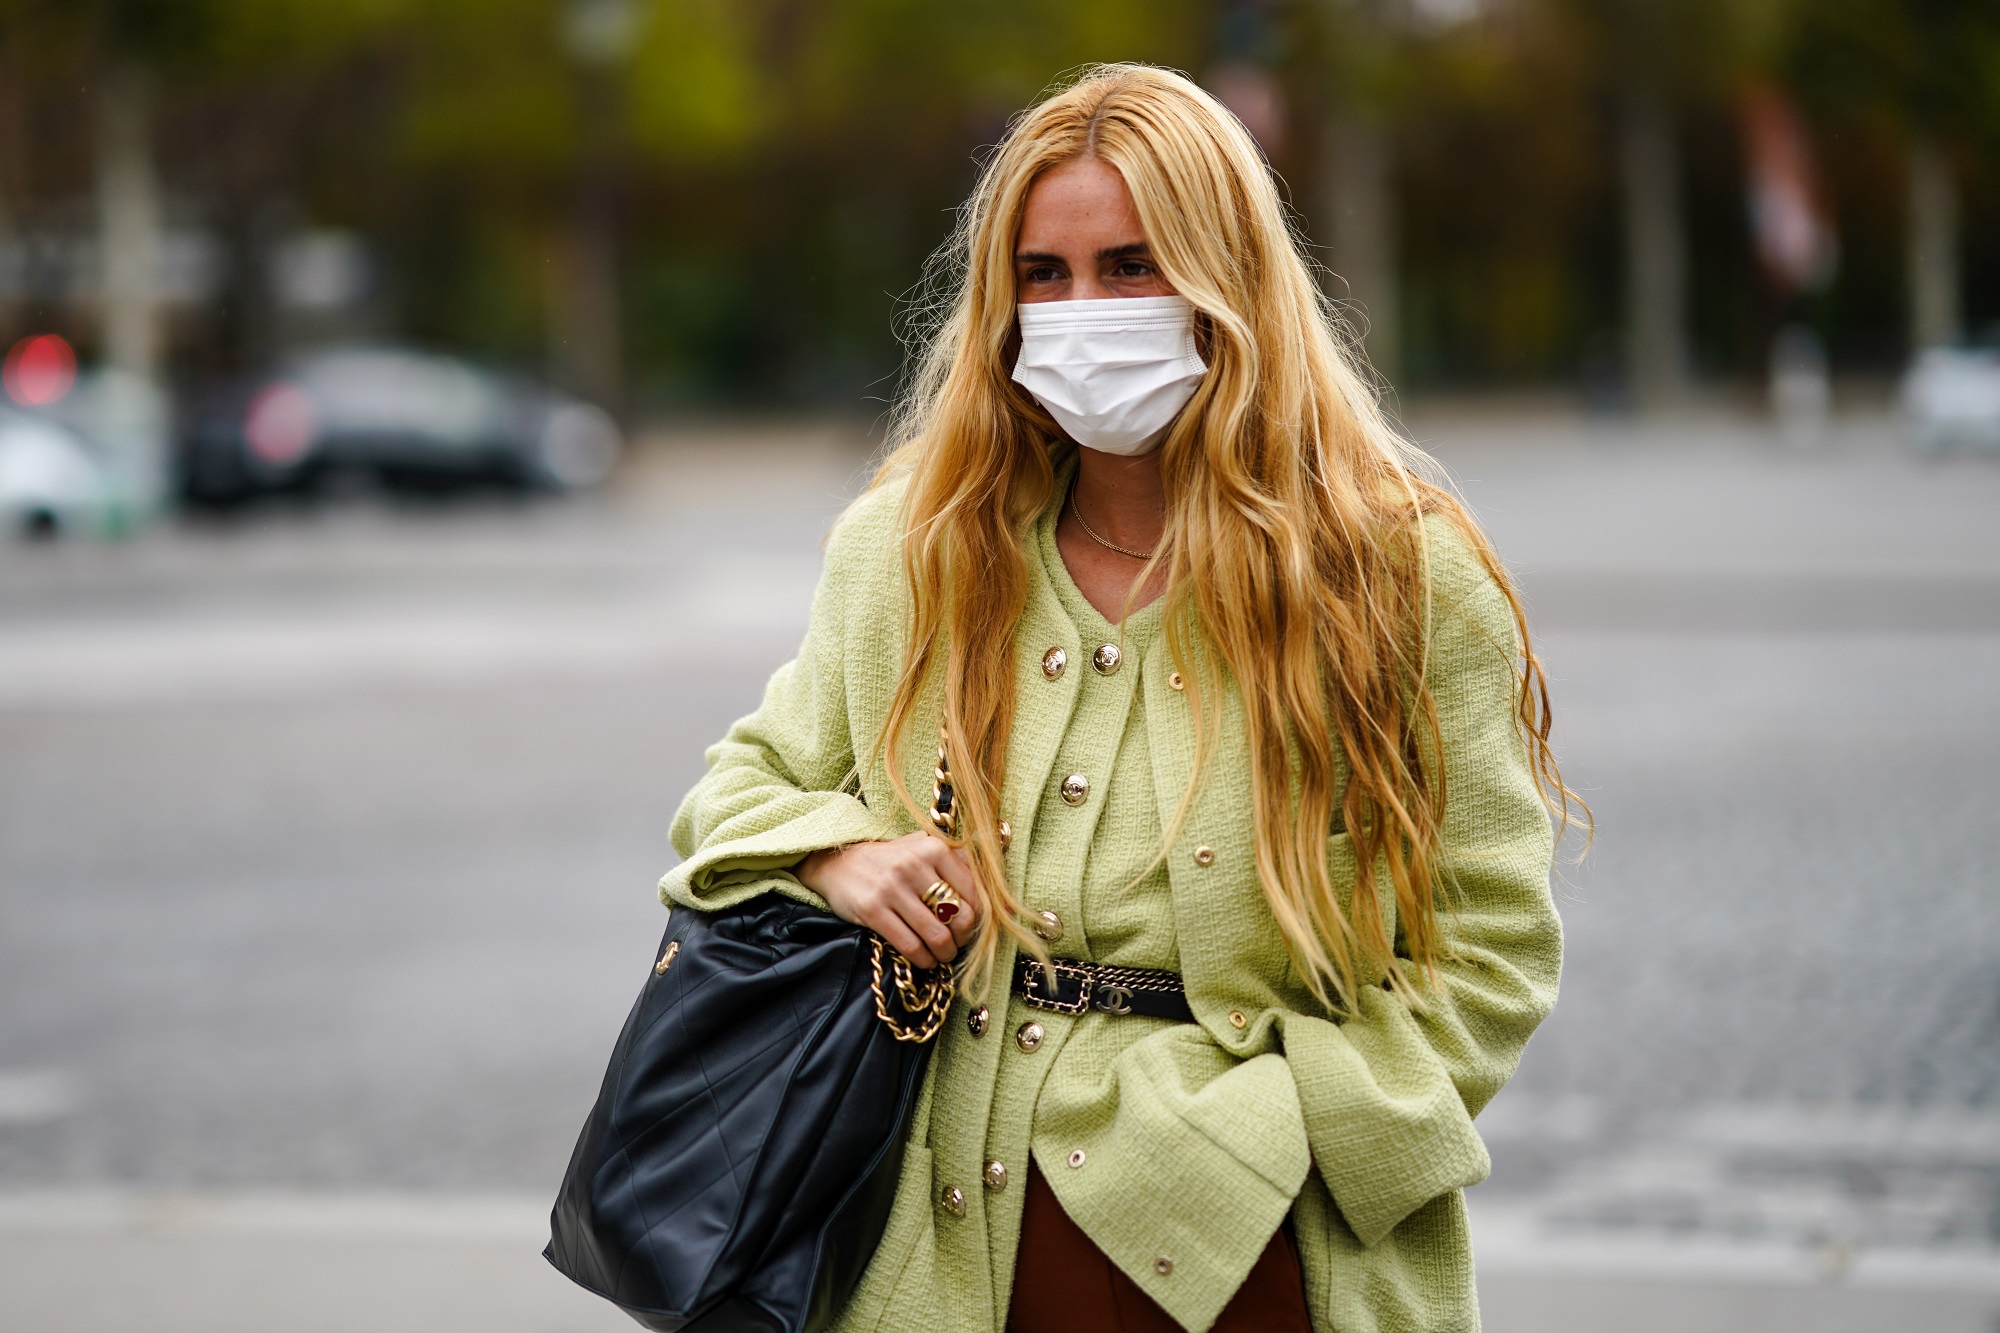
Nowadays, protective masks are an addition to any hairstyle. They effectively protect against the transmission of bacteria and viruses
The stores are full of various designs and colors of these still popular accessories. However, they often do not suit us in terms of style, color or material. Moreover, protective masks are used every day, so you need at least several of them. In the following article, we come to help. We will tell you how to create a mask with your own hands from the materials of your choice
Sewing a protective mask is very simple, even for people who are beginners. Before starting work, you need to disinfect the workplace with disinfectant, and then thoroughly clean and disinfect your hands
Then prepare the necessary accessories such as:
After preparing the above things and disinfecting your hands you can start working. Even a layman can easily make a protective mask
At the beginning, you have to cut out the appropriate shape of the mask from the available material. If you use cotton with a pattern, you have to lay the form perpendicularly to the decoration, not diagonally. It is extremely important, if you make a mistake here, the material will “wave” unsightly during sewing.
From the cotton you need to cut out three elements
Then, on the largest rectangle, you can use notches or points to mark the places for the tabs. The first point will be located 4 cm from the top edge of the mask. The following ones will be located at the given distance from each other: 1 cm, 2 cm, 1 cm, 2 cm, 1 cm. Having the material already cut out, the next step is to secure the edges of the mask. In order to do that, sew on the straps for straps (if you use them) and rectangles forming a pocket for the filter. Next, we sew the rectangles made of fabric. Elements should be arranged so that the edges of the front connect with the edges of the lining. The rectangles must be arranged facing each other with the right sides of the fabric. Then sew the longer edges of the rectangles together. This will make room on the sides for an extra filter. After the stitching is done, flip the fabric to the right side
Another very important point is to stiffen the nose. It is not necessary, but often required. A protective mask without a nose stiffener often slips off, resulting in ineffective protection of our health. Nose stiffener is made with a thin wire. It is good if it is relatively flexible. The element should be 17 cm long, which is the dimension corresponding to the longer edge of the rectangle. In order to prepare a tunnel for the wire, the upper part of the mask should be wrapped and then sewn. It is done on the right side of the material. It is best to put the wire before and measure how wide the tunnel should be. After completing this step, we proceed to form overlaps. Before you do that, you should sew both edges of the mask. Thanks to this, layers of the material will not move. If you want to make equal overlaps, you need to fold the edges of the mask according to the previously determined points. As a result, you will get 3 overlaps, which should be sewn and ironed
The last step is to sew the straps to the sides of the mask. You can use self-made straps or elastic bands bought in a haberdashery. The straps should be sewn on the inside of the mask. When the mask is ready, we recommend to cut all protruding threads, make aesthetic corrections and iron it. Finally, it is necessary to disinfect the mask. Remember that masks must be washed at 60°C, because only this temperature removes all bacteria from them and disinfects them sufficiently
Read also: Avocado for beauty. We suggest how to create great working cosmetics yourself with this fruit
Main photo: Edward Berthelot/ Getty Images Entertainment/ Getty Images