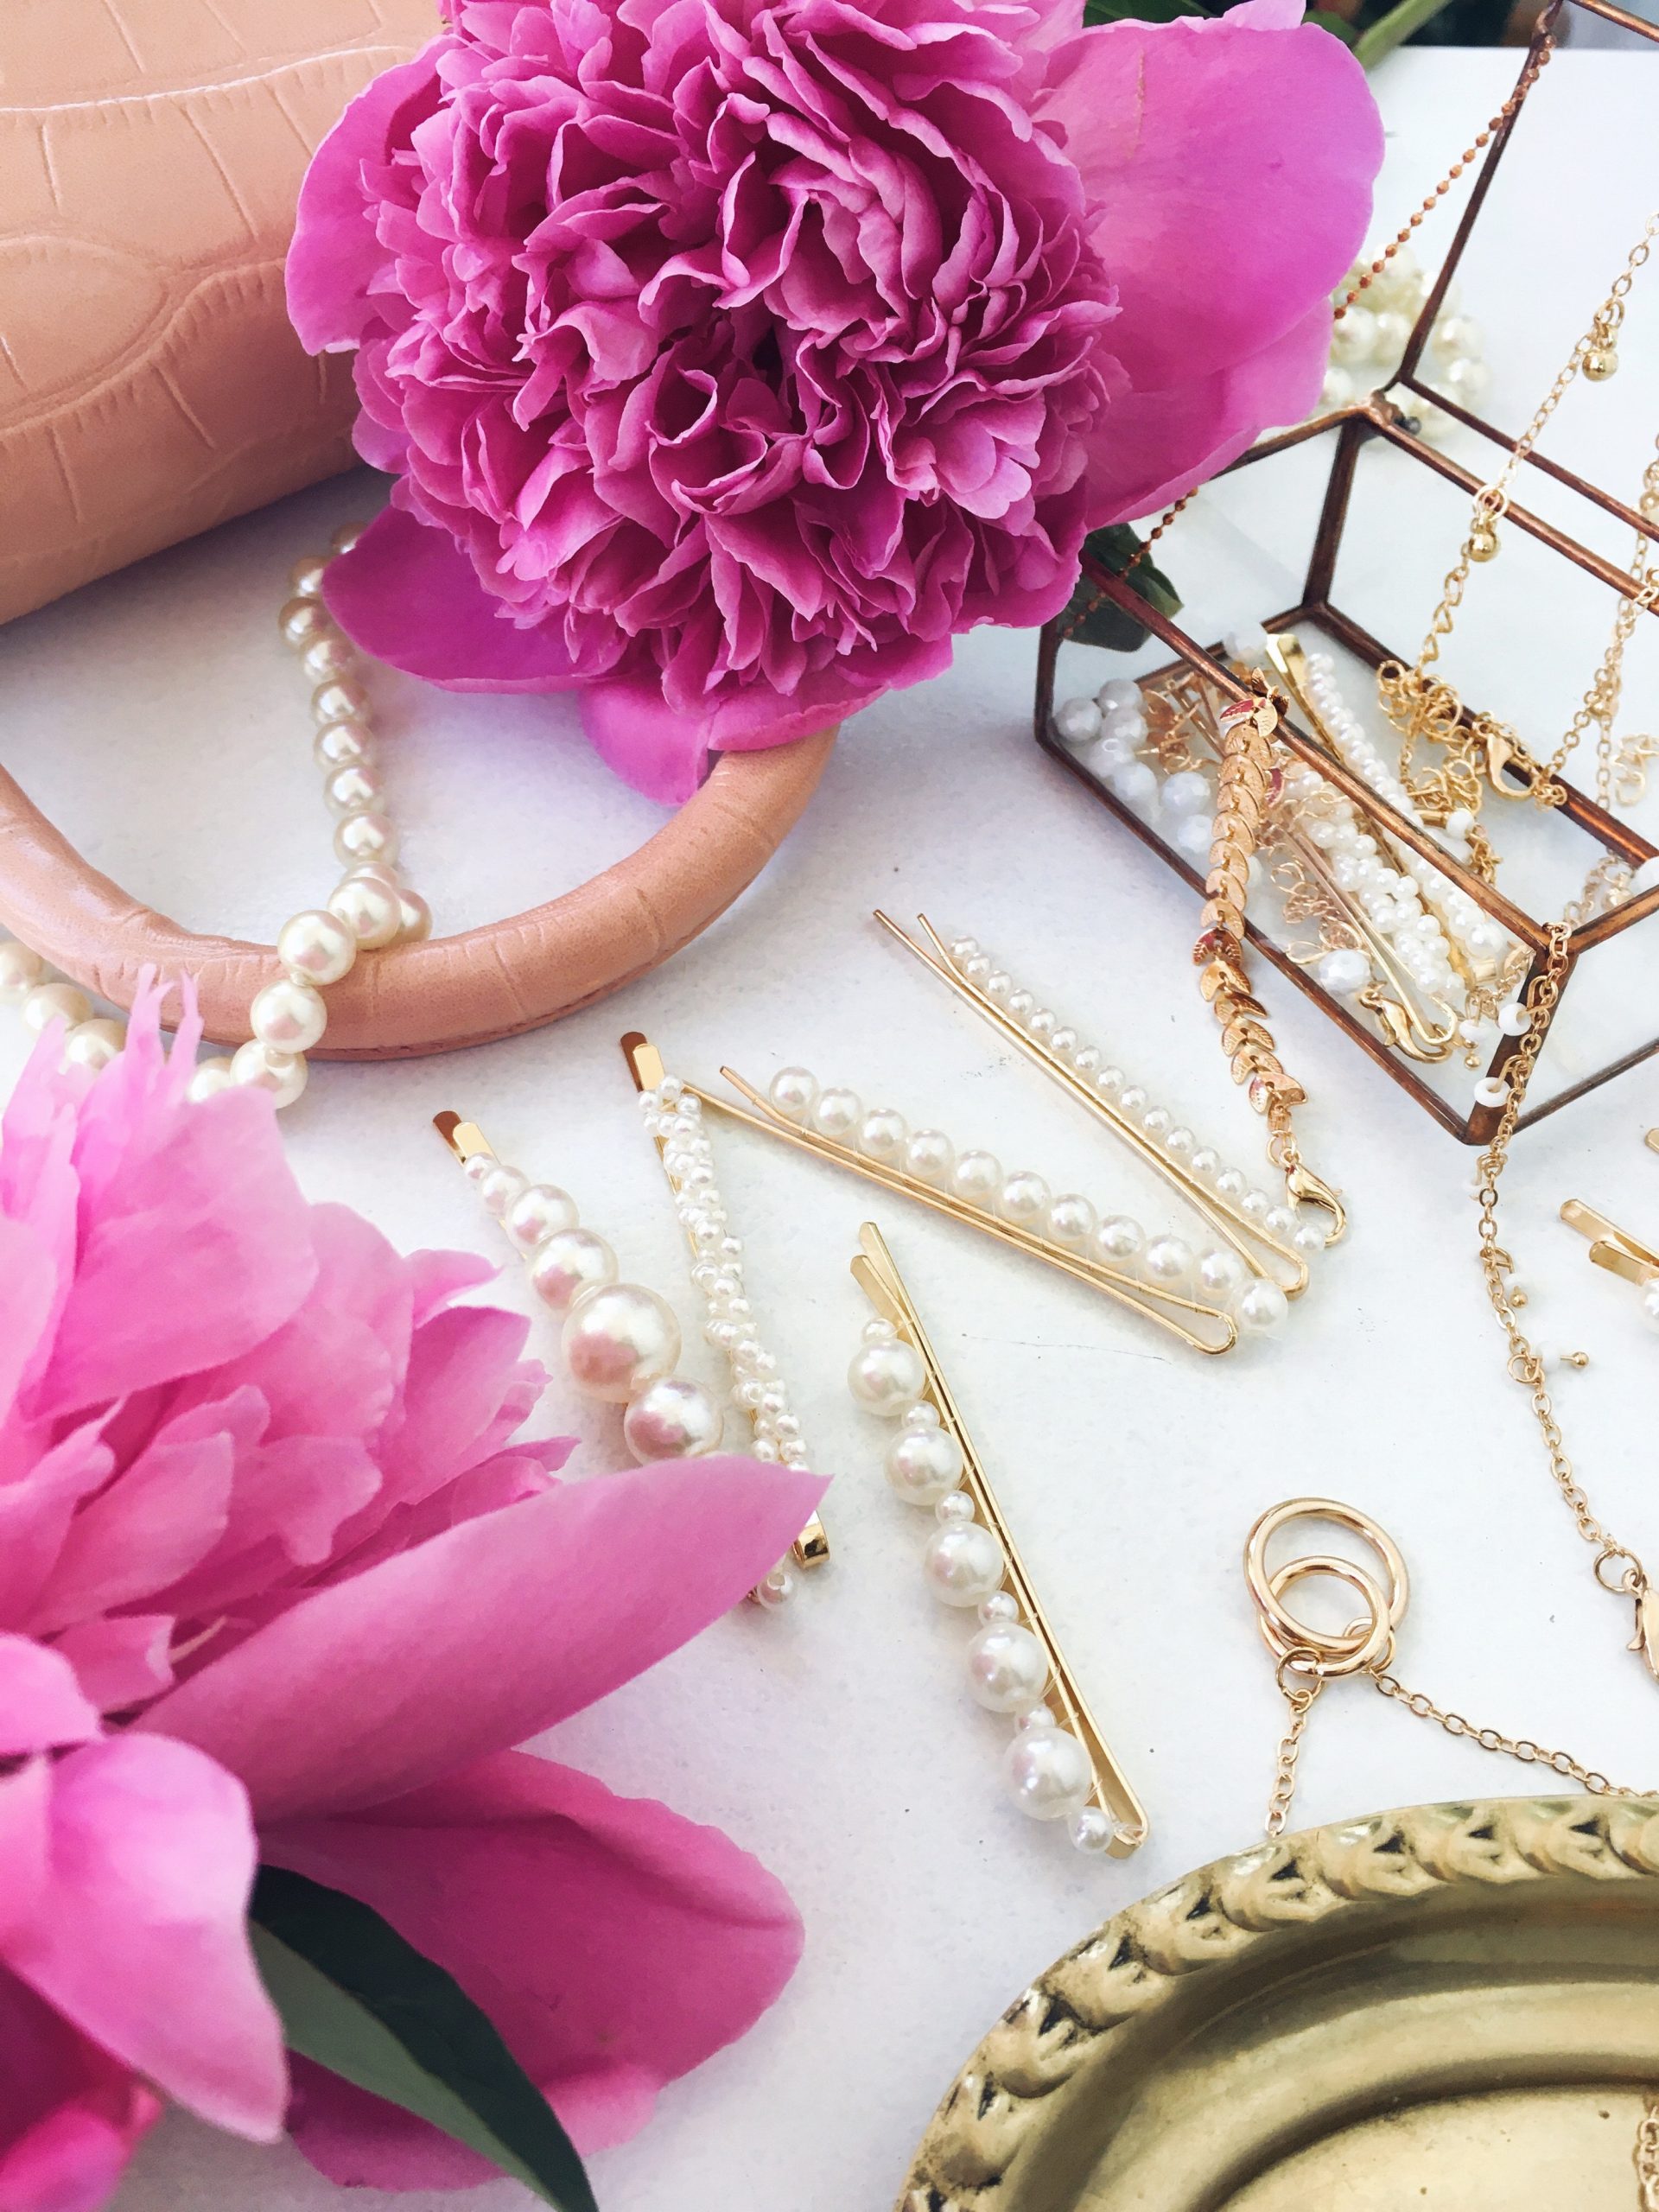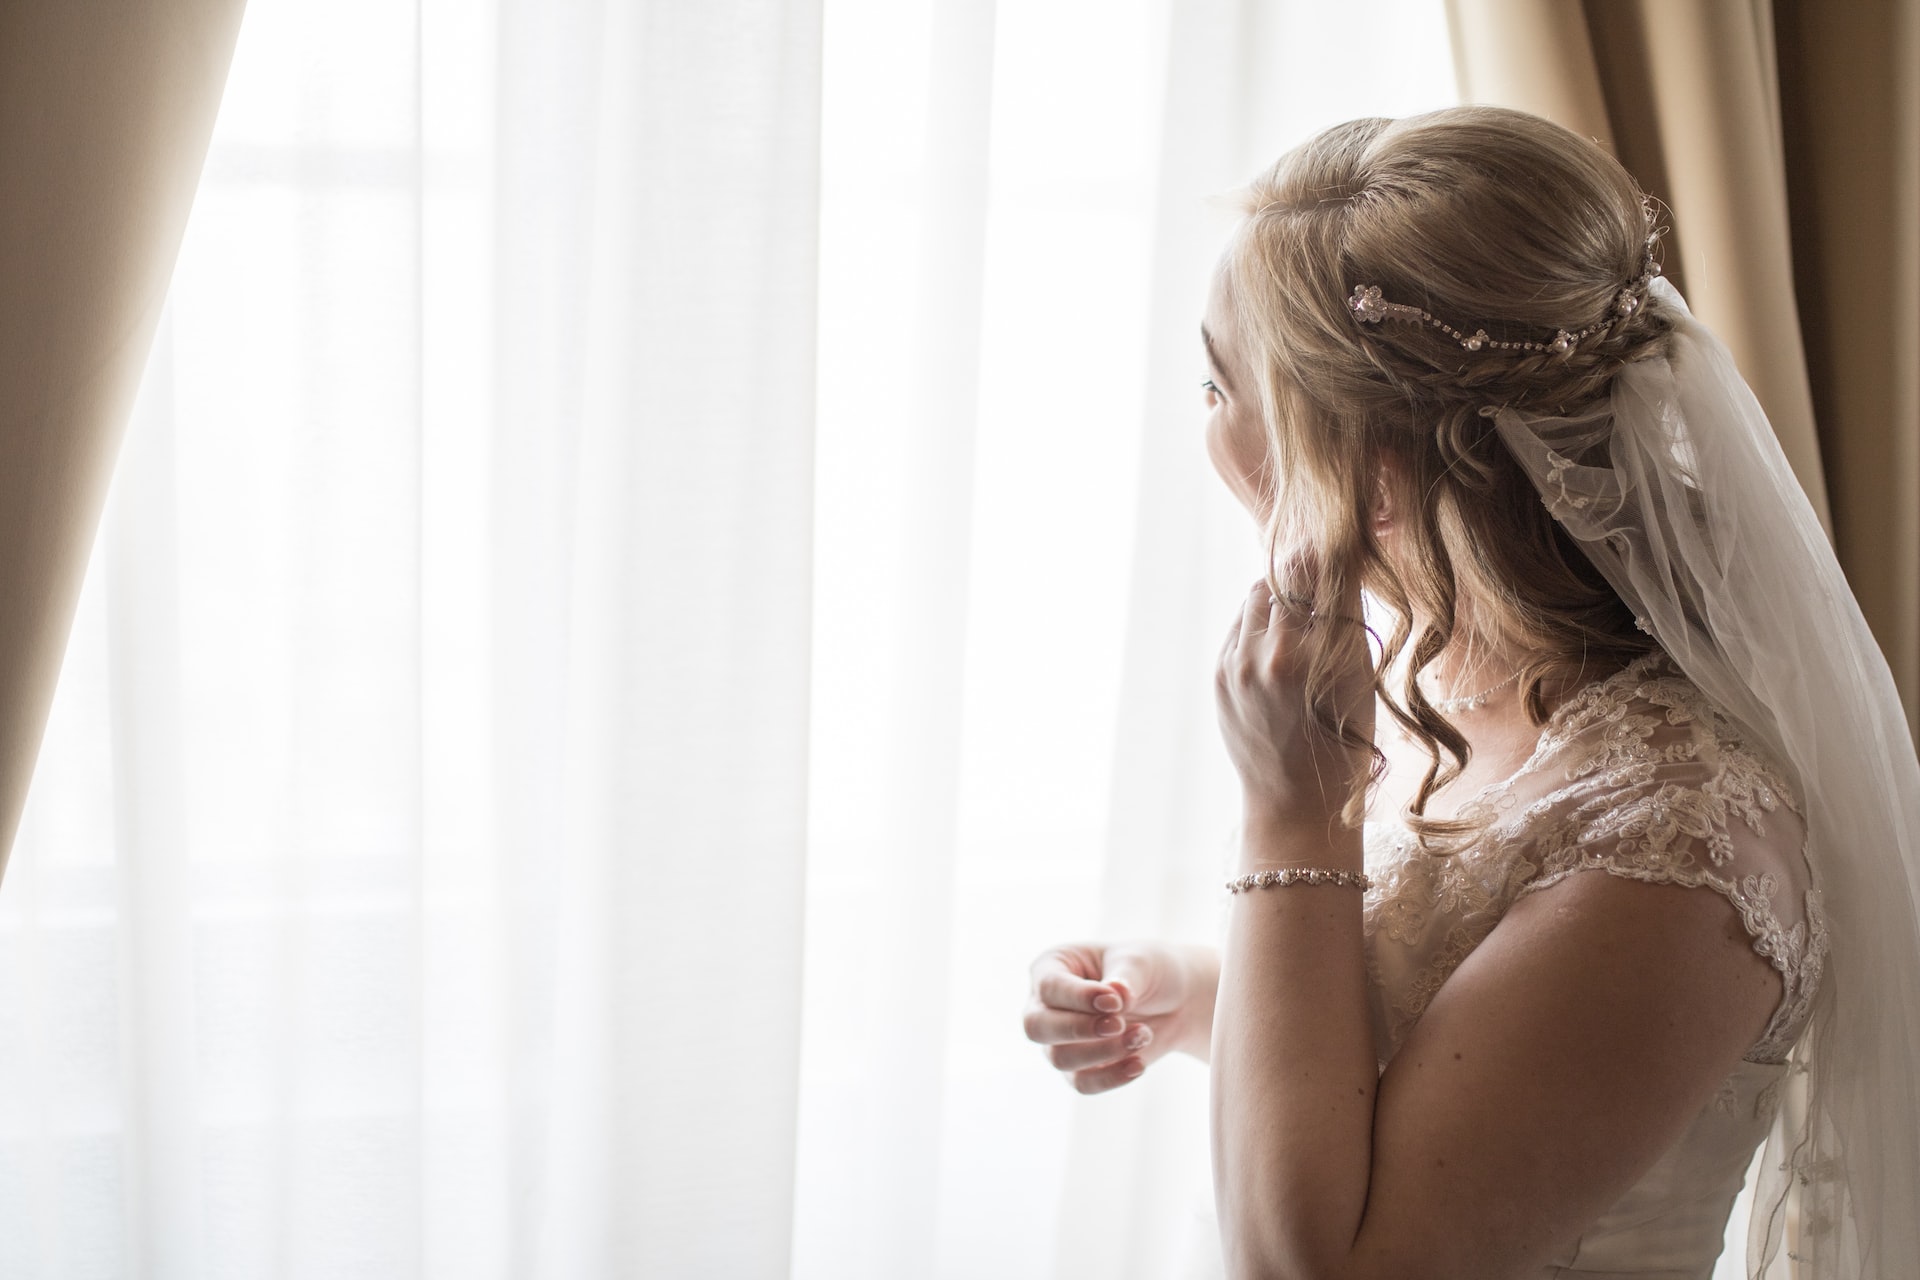
Pearls are a hit that have been around for several seasons now. We wear them as jewelry, in the most classic form, on our clothes (e.g. denim katana with pearls), and as hair accessories. The market offers a wide variety of hair bands and pins in different forms. The latter you can easily make yourself at home. They will certainly come in handy, even if you already have a large collection of such accessories.
First you need to choose the type of pin and visualize your design. In the case of bobby pins, you can use glue alone (the least durable version), the rubber band alone, or both (the most stable version). The situation is similar with clothespins. On the other hand, only the elastic band without glue will work on broken clasps – the whole thing has to work together with the frame.
If you are using a jeweler’s elastic, attach it properly starting from the head (the side where the upper and lower arms connect). Then, pin the pearl and wrap the fishing line tightly around the skeleton (leave a little more slack for a broken pin) and so on. Finally, attach a jeweler’s rubber band. You can use hot glue to keep the string (especially the ends) and the beads together to make them more stable.
Decide for yourself if you’re going to cover the entire pin with pearls or just part of it. You can also mix up different sizes of beads and create a unique pattern to add variety to the whole project. It is also possible to “braid” pearl covers on broken pins – the pearls are connected to each other with a jeweler’s rubber band, but they are not attached to the skeleton itself. In this case, it is necessary to make tabs on both sides, into which you insert the ends of the breakaway pin.
Shortcut method: you can also use semi-flat beads in adhesive strips. They are most suitable for broken pins, which have the largest surface area. However, this method is less spectacular and quite unstable.
Read also: How to make a hair band yourself?
Main Photo: Анна Орлова/ pexels.com